Ceramic plates are beautiful decoration on the walls. Plates are available in a variety of colors and sizes. But as time goes by, the color or design fades. Sometimes there are accidental chips. Or you might just get bored seeing the same thing again and again.
Decoupage gives you an opportunity to transform your old ceramic plate to a stunning new design. Ceramic plate decoupage is fast, easy and relatively inexpensive. Plus the change in design can happen as frequently as you want.
Ceramic plate decoupage involves the same basic steps as regular decoupage. First we have to prepare the surface, then add colors. And finally merge the tissue with the surface and finish it off.
Step 1 – Priming the surface with Gesso
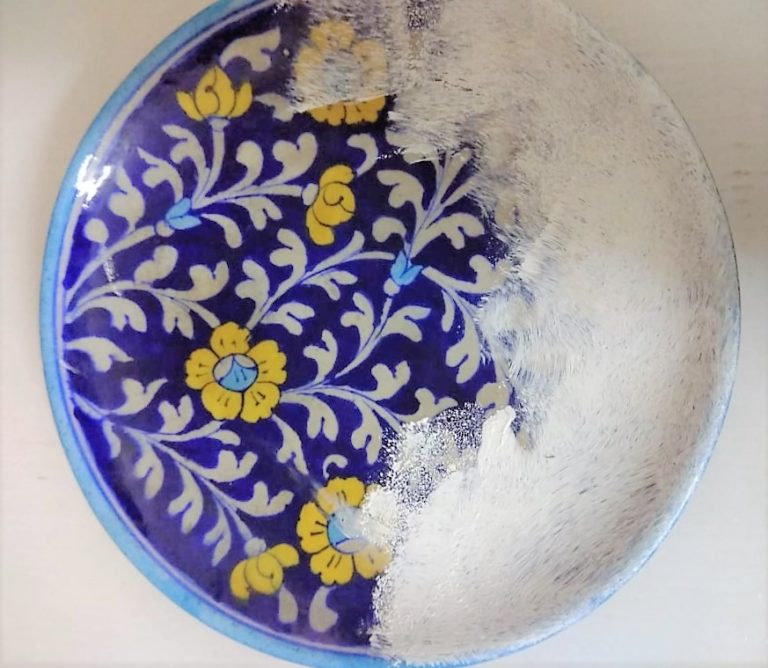
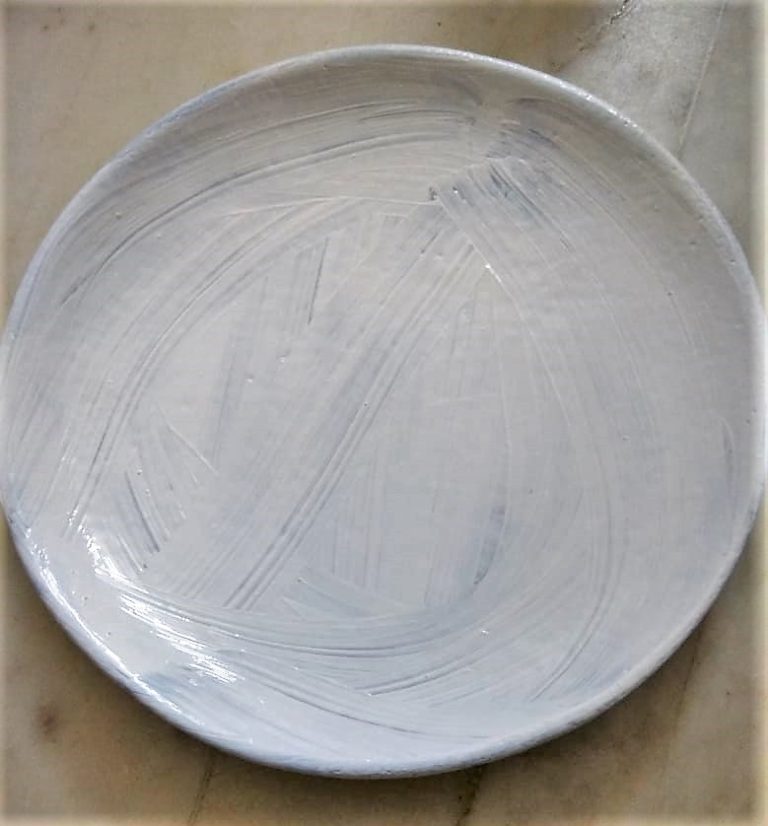
Start by cleaning the surface thoroughly and allowing it to dry. Apply a coat of Gesso. Camel Camlin Kokuyo Artist Gesso White is a good option to start with. It is also the most popular product used as gesso. The coat should be uniform. If the coat looks light or original design is still visible, apply a second coat. Allow it to dry full before applying colors. Use a flat brush for faster and even application.
Step 2 – Coloring the ceramic plate
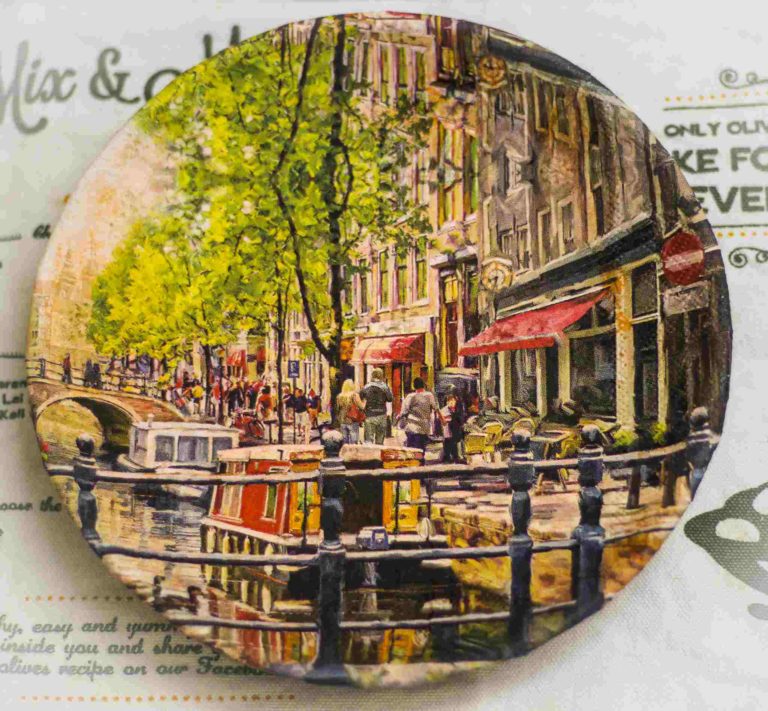
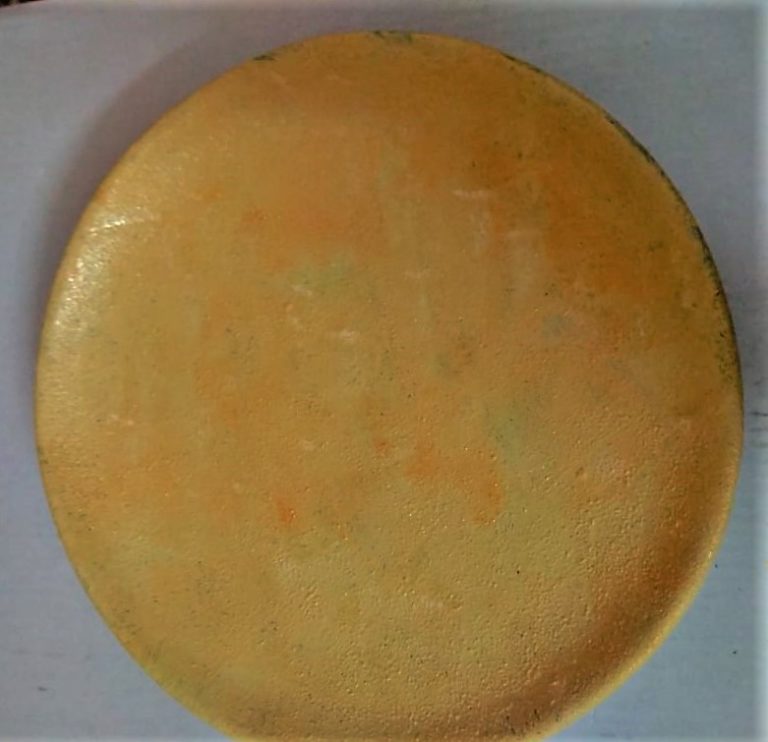
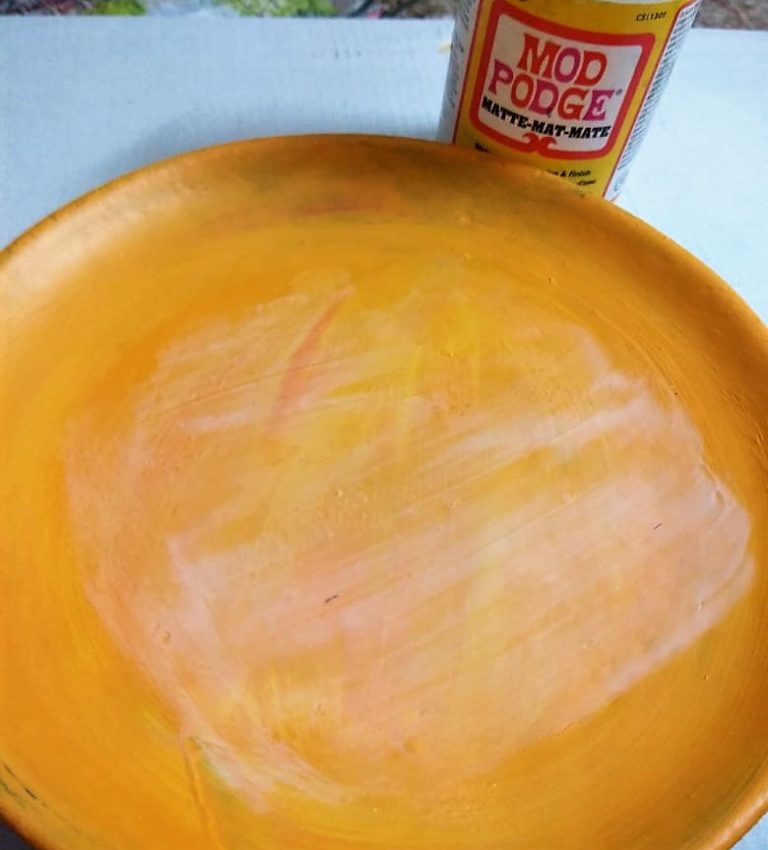
Application of gesso primes the surface to accept colors. Choice of colors for ceramic plate decoupage is most important because colors are visible through the thin tissue paper. Color choice also depends on design of the decoupage tissue paper. In our case we have chosen a semi urban theme.
The white spaces in the tissue will show the background color. We have chosen a mix of yellow and orange. The mix is not completely even.
Step 3 – Preparing and applying paper on plate
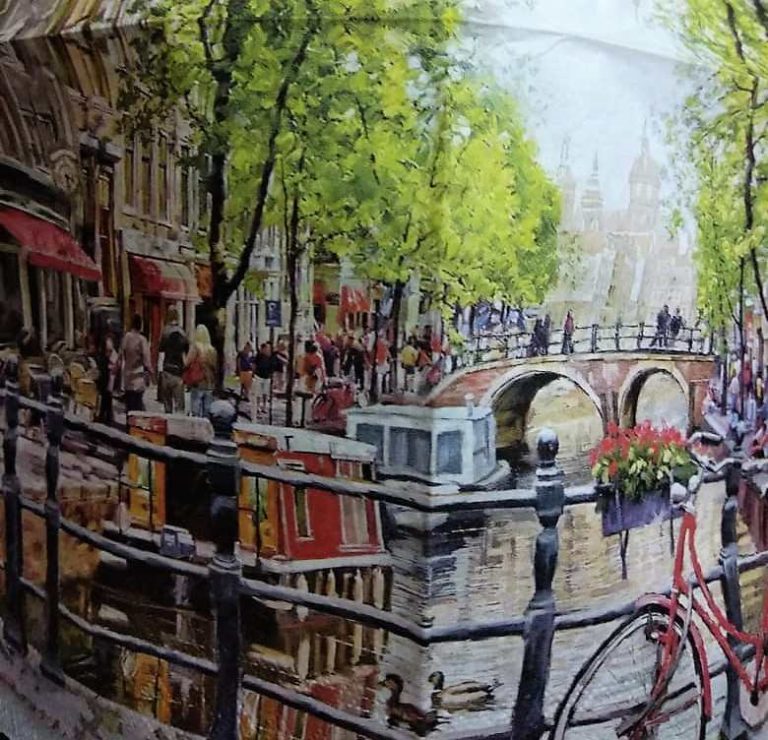
A tissue paper comes in layer called ply. It comes in single, 2-ply, 3-ply or more. For decoupage purpose, we only need the first layer which is printed. Additional layers are plain white. Begin by applying ModPodge in the center. At the same time, before it dries up apply the tissue paper. Work your way outwards by continually applying mod podge and fixing the tissue. Make sure that there are no wrinkles. However a few of them might actually give a good effect to the picture.
Once you reach the edges, curl the paper over the edge. Apply generous portions of mod podge at the edges and ensure full merge with the surface.
Allow the tissue to dry completely. Note the tissue is very delicate and tears very easily when wet. Once dried, a second layer of mod podge glossy can be applied. Mod Podge act as a sealant too. It will give a finish as per what is applied.